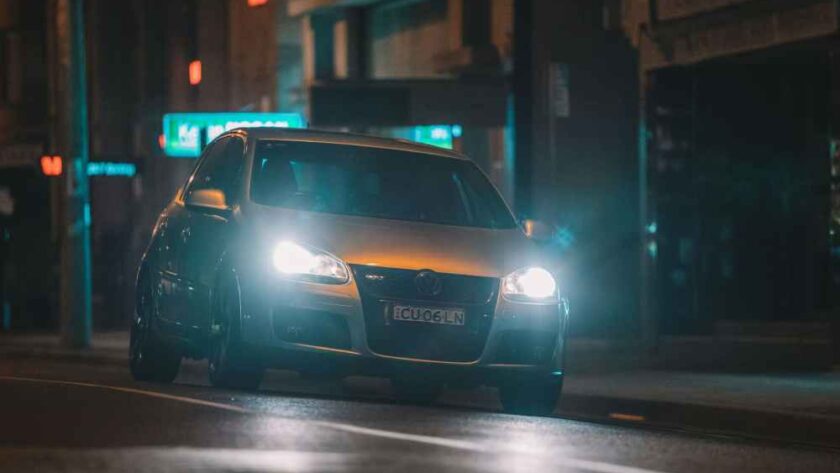
Nighttime driving can be difficult due to limited visibility, glare from oncoming headlights and other lights, and weather such as fog, mist, or rain. Fortunately, having bright headlights can make your nighttime driving experience a lot easier. Even better, there are a few ways to DIY the headlight brightening.
Perform a Basic Cleaning
Grab a soft cloth, and gently wipe your headlights. Next, use toothpaste or a headlight cleaning solution, and scrub with a sponge or microfiber cloth. The next steps are to rinse the cleaning solution and dry the headlights.
This type of basic cleaning gets rid of the grime, dirt, and road debris that accumulates over the years and can hugely improve the brightness and clarity of your headlights. It can help with the resale value of your car too, if you’re considering buying a vehicle such as a new Lincoln for sale.
Polish the Lenses
It’s possible that your headlights still look dim, cloudy, or hazy after you perform a basic cleaning. A headlight lens polishing kit, also known as a headlight restoration kit, can help.
You should follow the directions that come with the specific kit you purchase. In general, you sand the lenses and use a polishing compound to get rid of the haze.
A note of caution: While the restoration kits work, your headlights may become noticeably hazy again in as short a time as a year. If you plan to keep your car for a good few years, it may make more financial sense to replace the headlight housings. You could also upgrade to brighter bulbs.
Wondering why the dimness, cloudiness, or haziness occurs? It is due to the deterioration of the polycarbonate coating on the headlight lenses. It’s more prevalent in cars that get a lot of sun.
Adjust the Headlight Alignment
If your headlights are aligned improperly, you might be dealing with poor road illumination that reduces your visibility and distance perception. It can also cause glare for other drivers. A frontal collision or potholes can cause this type of imbalance, leading to more risks at night.
To DIY headlight alignment, check your owner’s manual. Not all cars allow for adjustments, and the manual shows you where the adjusting screws are. After this, the general steps are as follows:
- Do the work at dusk or dawn.
- Park on a level surface with a wall or garage door about 6 feet away. Check that your tires are inflated properly and that the gas tank is at least half-full.
- Switch your headlights on low beam. Use masking tape to make a cross marking the horizontal and vertical lines of the beam’s center axis.
- Measure the lines to see if they are the same. If they differ, bring the highest centerline down to the lowest centerline mark.
- Back the car away about 25 feet from the wall, and note the brightest part where the headlight shines onto the wall.
Start the adjustment by taking off the headlight ring or bezel. It helps to have an assistant inside the car. You’ll also need screwdrivers and a dark cloth or piece of cardboard.
Drive Safely at Night
Bright and well-aligned headlights keep everyone safe at night. Try to troubleshoot any headlight issues right away when you notice them occurring.


