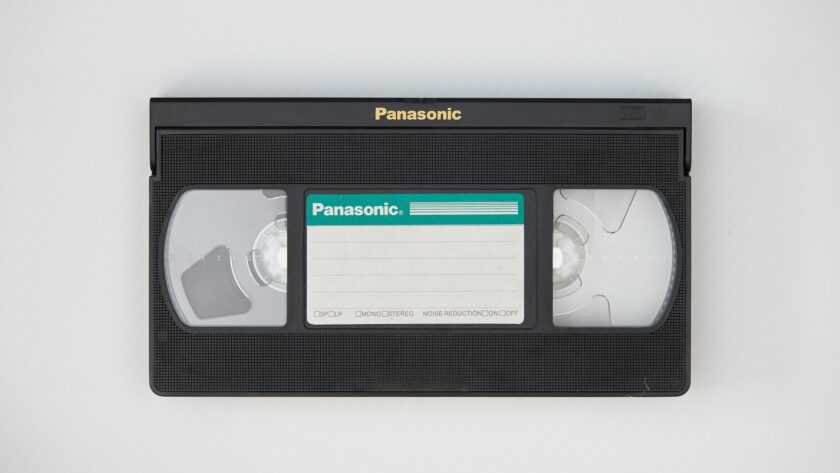
Are you tired of digging through boxes of old film reels just to watch a favorite movie or view your family memories? Maybe you have those old VHS tapes with countless plays on them throughout the years that are starting to become worn out or damaged. Even sharing your film collection with loved ones has become a hassle because they don’t have a projector or VHS player.
If any of these issues have risen in your life, it might be time to consider transferring film to digital.
With the right tools and a little bit of know-how, you can quickly digitize your film collection and enjoy it anytime, anywhere. Here’s a quick guide on how to transfer film to digital in 5 easy to understand steps.
Contents
Step 1: Find the Right Tools
The first step in converting film to digital is to find the right tools. You’ll need a:
- Film scanner or film converter
- A computer
- A way to connect the two devices (usually through cables provided by the film scanner or converting you purchased)
There are a variety of film scanners and converters available, ranging from basic models to high-end professional equipment. Choosing a device that meets your specific needs and budget is important.
Step 2: Locate Your Films
Once you have the right tools, it’s time to locate your films. Gather all of your film reels and organize them by type (e.g., 8mm, 16mm, 35mm) and by content (e.g., family movies, home movies, commercial films).
This will make it easier to scan and organize your digital files later. You may have to dig a few boxes into sorting through them if they have been stored for a while. Do a visual inspection of the tapes or reels while you organize them to ensure they don’t have any physical damage.
Step 3: Set Up the Software on Your Computer
Next, you’ll need to set up the software on your computer that will be used to scan and convert your films.
Most film scanners and converters come with software you can install on your computer. Follow the instructions provided by the manufacturer to set up the software and make sure it’s working correctly. You can also find digital-only programs online. You are good to go just download the software and install it.
Step 4: Connect Your Devices Together
Once you have the software set up, it’s time to connect your devices together. Follow the instructions provided by the manufacturer to connect your film scanner or converter to your computer. This may involve using a USB cable or other type of connection.
Step 5: Create a Backup Plan if Something Goes Wrong
While transferring film to digital is generally a straightforward process, it’s always a good idea to have a backup plan in case something goes wrong. Consider creating copies of your films before scanning them, and have a plan in place in case something goes wrong during the transfer process.
If you’re not comfortable handling the film transfer process yourself, you might consider hiring a professional digitization service. These services can handle the entire process for you, ensuring that your films are transferred safely and accurately, while maintaining a high-quality finished product.
Conclusion
Transferring film to digital is a convenient and effective way to preserve and digitize your film collection. With the right tools and a little bit of know-how, you can quickly transfer your films to digital format and enjoy them anytime, anywhere.
By following these five easy steps, you can confidently transfer your films to digital, knowing that your memories and movies are safe and accessible for the long term.


